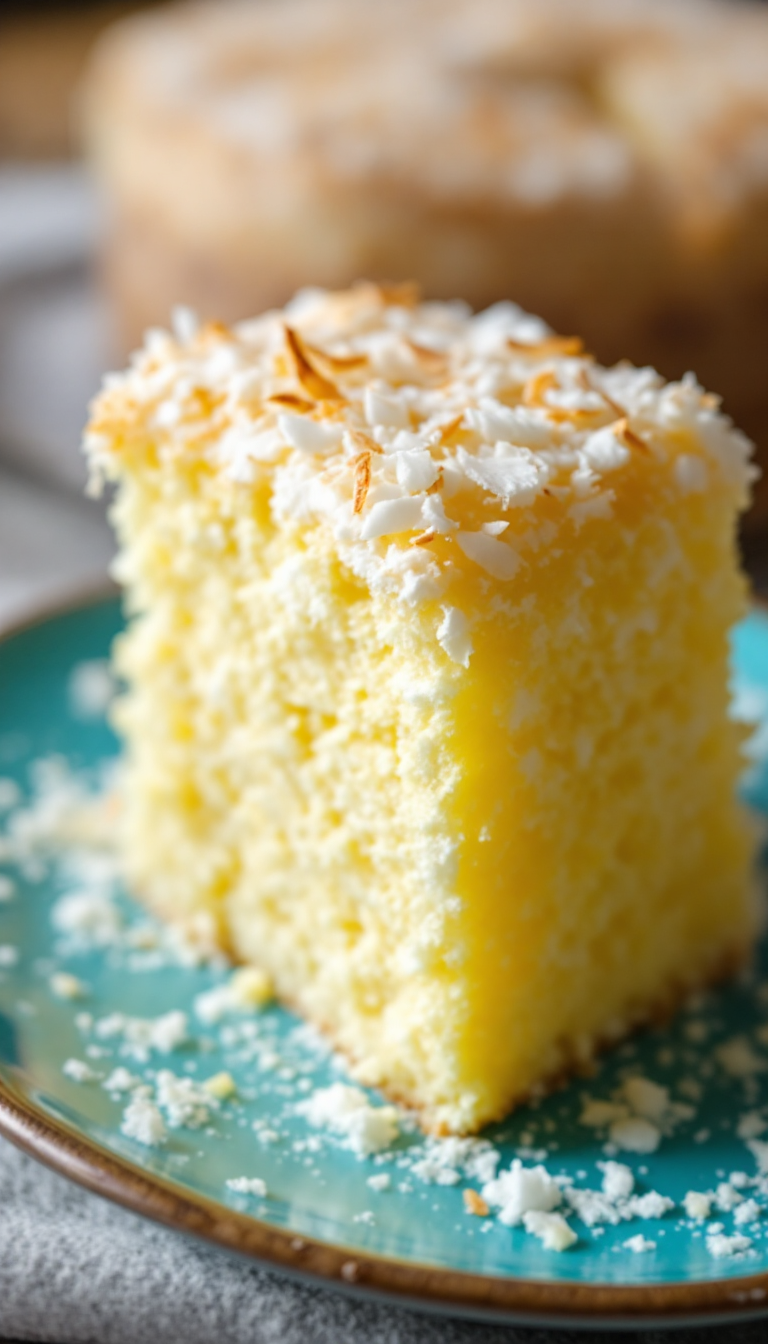
Baking with coconut flour can feel like a whimsical dance—sometimes it soars, other times it stumbles. But this cake, oh, it’s a triumph! Like a warm hug on a rainy day, each bite is a delightful embrace of moist, gluten-free goodness.
(Remember that viral coconut flour hack on TikTok last month? Yeah, this is even better.
Steps
- Preheat your oven to 350°F and butter a nonstick 8-inch round cake pan. This prevents the cake from sticking to the pan during baking.
- In a medium bowl, whisk together the eggs, coconut milk, stevia, and vanilla extract until smooth. Ensure the coconut milk is well-mixed before adding it to avoid lumps.
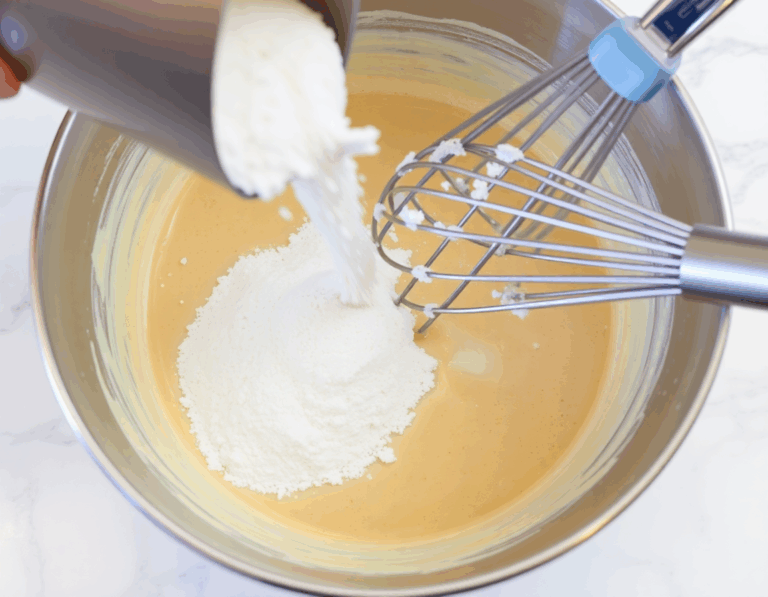
- Gradually add the coconut flour to the wet mixture, whisking continuously until the batter is smooth. If the batter appears too thick, incorporate 1-2 tablespoons of water to adjust the consistency.
- Stir in the salt and baking powder using a rubber spatula, ensuring they are evenly distributed throughout the batter.
- Pour the batter into the prepared cake pan, smoothing the top with the spatula for an even surface. Bake for around 20 minutes, or until a toothpick inserted into the center comes out clean.
- Once baked, cool the cake in the pan on a cooling rack for 15 minutes. Invert the cake onto the rack and allow it to cool for an additional 15 minutes.
- Optionally, dust the cooled cake with powdered sweetener before slicing. Serve and enjoy your moist coconut flour cake!
Ingredients
- 1 tablespoon unsalted butter (for greasing the pan)
- 4 large eggs
- 1 cup canned, unsweetened, full-fat coconut milk
- 1 ½ teaspoons stevia glycerite (or use a granulated sweetener equivalent to ½ cup of sugar)
- 1 tablespoon vanilla extract (or 1 teaspoon of coconut extract)
- 84 grams coconut flour (approximately ¾ cup, measured by weight)
- A pinch of salt
- 1 tablespoon baking powder (ensure it’s gluten-free if needed)
- 1 teaspoon powdered sweetener (optional, for dusting)
Nutritional Values
Calories: 1120 kcal | Carbohydrates: 72 g | Protein: 48 g | Fat: 72 g | Saturated Fat: 48 g | Sodium: 2144 mg | Fiber: 32 g | Sugar: 24 g
FAQ
- Is the cake dry?
- No, this coconut flour cake is not dry. Baking with coconut flour can be tricky due to its absorbent nature, but with the right balance of ingredients, it results in a moist and fluffy cake.
- Does the cake have a strong coconut flavor?
- The cake does have a coconut taste, but it’s subtle and not overwhelming. If you prefer a stronger coconut flavor, consider using a teaspoon of coconut extract in place of vanilla extract.
- Can I substitute almond flour for coconut flour?
- No, you cannot substitute almond flour for coconut flour in this recipe. These flours behave differently and are not interchangeable. If you want to use almond flour, look for recipes specifically designed for it.
- How should I store leftover cake?
- Store any leftover cake slices in an airtight container in the fridge for up to five days. You can also freeze individual slices in freezer bags and defrost them in the refrigerator or microwave when needed.
Tips
- Ensure that the canned coconut milk is completely smooth before adding it to the batter. It’s not enough to just shake the can; pour the milk into a bowl and whisk it thoroughly to prevent any separation of the milk and fat, which could affect the cake’s texture.
- Always measure coconut flour by weight rather than volume. This flour is very absorbent, and even a small difference in quantity can affect the cake’s consistency.
- If using a nonstick pan, make sure it is truly nonstick and in good condition. Consider replacing your nonstick pan yearly to avoid any sticking issues, especially when baking with coconut flour.
- If the batter appears too thick, you can add a tablespoon or two of water to achieve the right consistency. This will help ensure the cake stays moist and fluffy.
Equipment
- 8-inch Nonstick Round Cake Pan – It’s important for baking with coconut flour to ensure the cake doesn’t stick.
- Hand Whisk – Needed to ensure the coconut milk is smooth and for mixing the batter.
- Cooling Rack – Useful for allowing the cake to cool properly after baking.