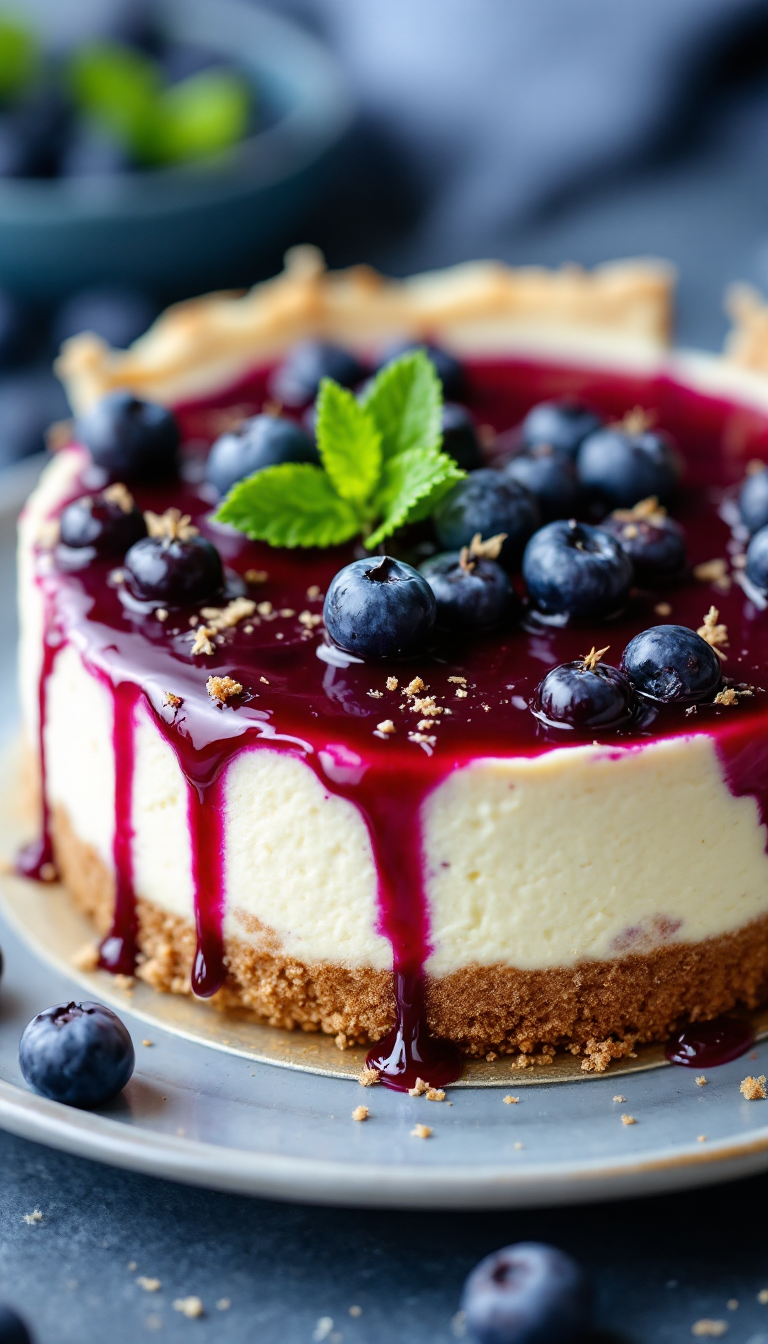
Oh, blueberry cheesecake, you temptress of the dessert world! Just the thought of that creamy, dream-like filling with bursts of juicy blueberries makes my heart skip a beat—like finding a forgotten $20 in an old coat pocket! Whether you’re deep into the keto lifestyle or just trying to cut back on carbs, this cheesecake is your sweet escape.
Steps
- Preheat your oven to 160C/320F and line a pie pan with parchment paper to prepare for baking. Place your prepared pie crust into the pan.
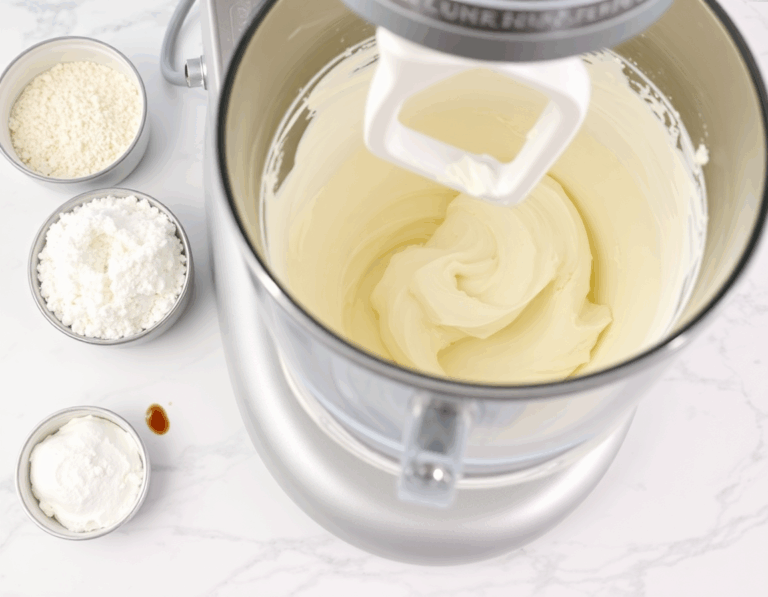
- In a stand mixer, lightly beat the softened cream cheese until smooth, being careful not to overmix. Add in almond flour, vanilla extract, sour cream, and superfine granulated sweetener, mixing until just combined. Incorporate the eggs one at a time, stirring until the mixture is smooth, then gently fold in some blueberries.
- Pour the cheesecake mixture into the prepared crust and bake for about 1 hour and 10 minutes, or until the edges are set and the center still jiggles slightly. Allow the cheesecake to cool completely before placing it in the refrigerator overnight to firm up.
- For the blueberry topping, toss blueberries with coconut flour in a saucepan and add a splash of water. Simmer the mixture over medium heat until it thickens, then pour the topping over the chilled cheesecake. Refrigerate for an additional 2 hours to allow the topping to set.
Ingredients
- Cream cheese: Use full-fat, preferably from a block.
- Vanilla extract.
- Sour cream: Or substitute with full-fat Greek yogurt.
- Superfine granulated sweetener: Made by lightly blending allulose or monk fruit sweetener to a flour-like texture.
- Almond flour.
- Eggs: Large and at room temperature.
- Blueberries: Fresh or thawed frozen berries, drained of excess juices.
- Blueberries: Fresh or frozen (not thawed).
- Coconut flour.
- Water: Just a splash, or substitute with keto maple syrup for a sweeter topping.
- Any low-carb, 8-inch pie crust will do. (The article mentions an almond flour crust recipe.)
FAQ
- Are blueberries suitable for a keto diet?
- Yes, blueberries are one of the few fruits that are suitable for a keto diet. They provide a fantastic low-carb fruit option, with one cup (about 100 grams) containing only 3 grams of net carbs.
- Can I prepare this cheesecake in advance?
- Absolutely, you can make this cheesecake ahead of time. If you hold off on adding the blueberry topping, it can be made up to three days in advance, maintaining its smooth texture.
- Is it possible to make this cheesecake dairy-free?
- While I haven’t personally tried it, substituting dairy-free cream cheese and coconut yogurt in place of the sour cream should work well. If you try this, please share your experience!
- What if I don’t have fresh blueberries?
- You can use either fresh or frozen blueberries for this recipe. If using frozen, make sure to thaw them and drain any excess juices before using them.
- How should I store leftover cheesecake?
- To store, place the cheesecake in an airtight container in the refrigerator for 3-4 days. For longer storage, wrap slices in foil and freeze them in a freezer-safe bag for 2-3 months. Thaw in the refrigerator overnight before serving.
Tips
- Avoid Overmixing the Batter: To prevent cracks in your cheesecake, mix the ingredients just until combined. Overmixing can lead to a cracked cheesecake, but any imperfections can easily be hidden with the blueberry topping.
- Monitor Baking Time: Keep a close watch on your cheesecake as it bakes. While one oven may take around 70 minutes to bake the cheesecake to perfection, yours might take longer. The cheesecake is ready when the edges are firm but the center still has a slight jiggle.
- Make Ahead for Convenience: This cheesecake can be prepared up to three days in advance. Simply wait to add the blueberry topping until you’re ready to serve, ensuring the cheesecake maintains its smooth and silky texture.
- Experiment with Different Berries: Feel free to swap out the blueberries for other berries like strawberries or raspberries. This recipe is versatile and will still yield a delicious cheesecake with these variations.
Equipment
- Springform Pan – Essential for making cheesecakes as it allows for easy removal of the cake without damaging it.
- Electric Mixer – Useful for beating the cream cheese and mixing the cheesecake filling to a smooth consistency.
- Stand Mixer – Optional, but helpful for mixing ingredients efficiently, especially when making larger batches.